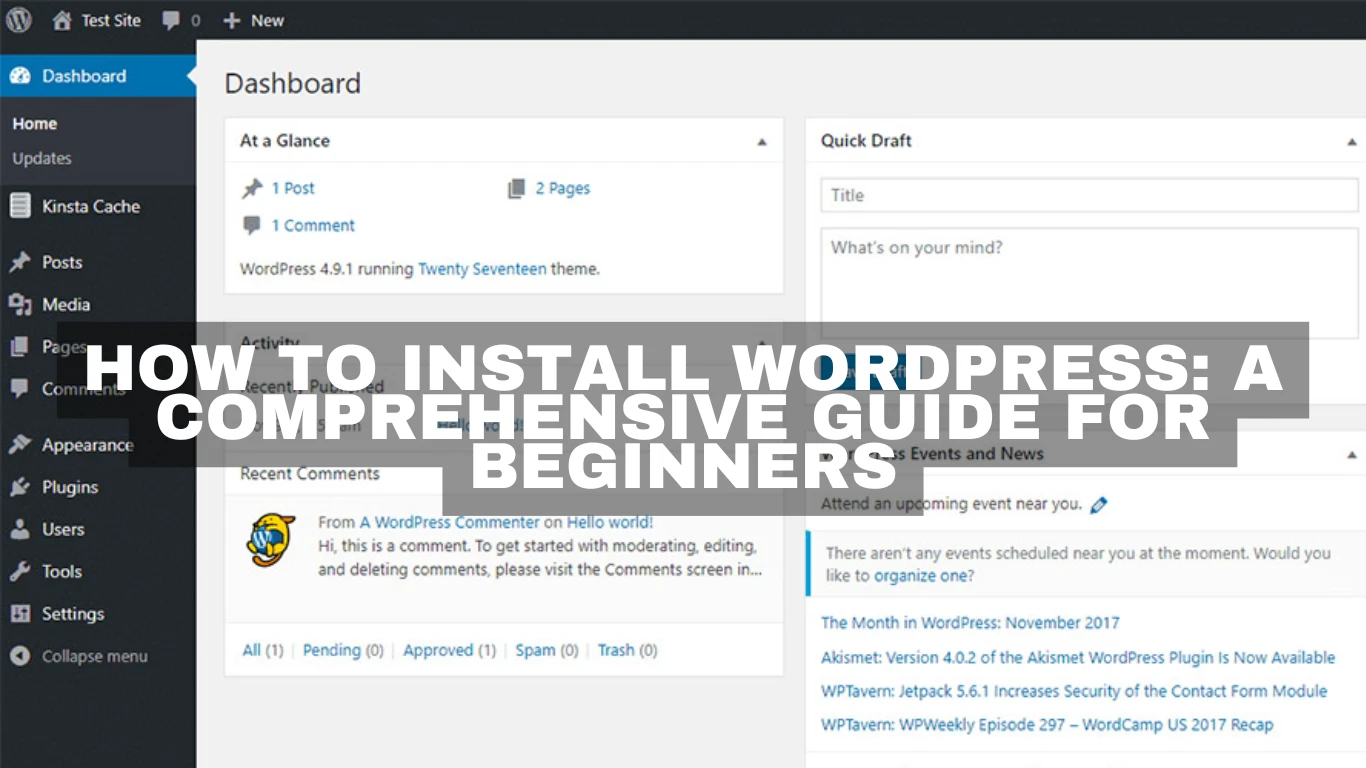
How to Install WordPress: A Comprehensive Guide for Beginners
How to Install WordPress: A Comprehensive Guide for Beginners
Introduction: Why Installing WordPress is a Game-Changer for Your Website
Yo, so you've decided to dive into the world of WordPress, huh? Good choice! Installing WordPress is like unlocking the door to endless possibilities for your website or blog. It's the most popular content management system out there, and once you get the hang of it, you'll see why everyone raves about it. In this guide, I'll be taking you through the step-by-step process of installing WordPress. Buckle up, let's get into it!
What You Need Before Installing WordPress: Getting Your Gear Ready
Alright, before we jump into the installation process, let's make sure you're all set with the essentials.
-
Domain Name and Hosting: First off, you need to have a domain name and a hosting account. There are tons of hosting providers like Bluehost, SiteGround, or HostGator where you can get a domain and hosting package.
-
FTP Client: If you're feeling all techy, it might help to use an FTP client like FileZilla. This will make it easier to upload WordPress files to your server.
-
A Cup of Coffee: Yeah, a little caffeine always helps, huh? Just joking, but seriously, having everything prepared will make the process smoother.
Step-by-Step Guide to Installing WordPress Using cPanel: The Fast Lane
Most hosting providers offer cPanel, and it’s legit the easiest way to install WordPress. Here's how you do it:
Step 1: Log into Your Hosting Account
First, you gotta log into your hosting account and go to the cPanel dashboard. If you’re using Bluehost, SiteGround, or similar, you’ll find this step pretty straightforward.
Step 2: Find the WordPress Installer
Once in cPanel, scroll down to the “Softaculous Apps Installer” or “WordPress Installer” section. Click on it and select “WordPress.”
Step 3: Start the Installation Process
Hit the “Install Now” button, and you'll be whisked away to a screen where you'll need to enter some info.
- Select Domain: Choose the domain where you want WordPress installed.
- Directory: Leave this blank if you want WordPress on the root of your site. Enter a directory if you want it installed in a sub-folder (like yourdomain.com/blog).
Step 4: Set Up Your WordPress Site Settings
This part is crucial, so don’t skip it!
- Site Name: Enter the name of your website.
- Site Description: A catchy tagline for your site.
- Admin Username: Create a unique username (don't go with "admin" for security reasons!).
- Admin Password: Choose a strong password. Don’t worry, you can change it later if needed.
- Admin Email: Important! Enter an email you actually use because WordPress sends notifications here.
Step 5: Choose a WordPress Theme
The installer may prompt you to select a theme during this process. Don’t sweat it—just pick one. You can always change it later once everything's set up.
Step 6: Click Install and Let the Magic Happen
Double-check all your info then hit that “Install” button. Grab your coffee and chill for a few moments while WordPress sets things up for you. Once it’s done, you’ll see a success message, and you can access your new WordPress website at yourdomain.com/wp-admin.
Installing WordPress Manually via FTP: For the Tech Savvy
Feeling adventurous or your hosting doesn't support cPanel? No problem, here's how to do it via FTP.
Step 1: Download WordPress
Go to WordPress.org and download the latest version of WordPress.
Step 2: Upload WordPress via FTP
- Unzip the downloaded file.
- Use your FTP client to connect to your hosting account.
- Upload the extracted WordPress files to the desired directory on your server.
Step 3: Create a MySQL Database
Hop into your hosting account's cPanel and click on “MySQL Databases.” Create a new database and a new database user. Assign the user to the database, ensuring you give it all privileges.
Step 4: Configure the wp-config.php File
- In the WordPress files you uploaded, find wp-config-sample.php.
- Rename it to wp-config.php.
- Open it with a text editor and input your newly created database details.
Step 5: Run the Installation
Go to your website URL (e.g., yourdomain.com) and you’ll see the WordPress installation page. Follow the prompts to complete the setup.
Securing Your WordPress Installation: Don’t Skip This Step
After installing WordPress, it's crucial to secure it:
- Update Everything: Keep WordPress core, themes, and plugins updated.
- Install a Security Plugin: Consider plugins like Wordfence or Sucuri.
- Backup Your Site: Regularly back up your site using plugins like UpdraftPlus.
Why WordPress Installation Might Fail: Common Pitfalls and How to Avoid Them
- Server Limitations: Make sure your host supports the latest PHP and MySQL versions.
- File Permissions: Incorrect permissions can mess with uploads. Set them to 755 for directories and 644 for files.
- Database Errors: Double-check your wp-config.php for typos in database names and credentials.
Conclusion: You’re Now a WordPress Wizard!
Congrats, you’ve just installed WordPress! Whether you used cPanel or went the FTP route, you’re now ready to start creating amazing content. Dive into the dashboard, explore the themes and plugins, and let's get that site poppin’.
FAQs
-
How much does it cost to install WordPress?
- Installing WordPress is free, but you'll need to pay for domain and hosting services.
-
Can I install WordPress on my computer?
- Sure thing! You can set up a local server using tools like XAMPP or MAMP, but it won't be available online.
-
Do I need to know coding to install WordPress?
- Nope, not at all! WordPress installation is user-friendly and doesn’t require coding skills.
-
How long does it take to install WordPress?
- Typically, it takes about 5 minutes with the auto-installer. It's quick and easy!
-
Can I change my WordPress theme after installation?
- Definitely! You can change your theme anytime through the WordPress dashboard.
#tips #blog #it
