How to Reinstall Windows on a New SSD
How to Reinstall Windows on a New SSD: A Comprehensive Guide
Switching your Windows installation to a fresh, speedy SSD can breathe new life into your computer. If you're unsure of how to proceed, don't worry! In this article, I'll guide you step-by-step on how to reinstall Windows on a new SSD. From preparing your system to completing the installation, we've got you covered with this detailed guide.
Why You Should Consider Installing Windows on an SSD for Faster Performance
So, first things first—why bother reinstalling Windows on an SSD? Well, it's simple. SSDs are significantly faster than traditional HDDs. This means quicker boot times, faster app launches, and snappier overall performance. With Windows on an SSD, you'll feel like you have an entirely new machine!
Things to Know Before You Start the Installation Process
Before diving into the installation, here's a checklist of what you'll need:
- A new SSD installed in your computer.
- A Windows installation media (USB drive or DVD).
- Any important data backed up.
- Your Windows product key (if required).
Ensuring these elements are ready will save you a world of trouble down the line.
Backing Up Your Old Data: Preparing for a Smooth Transition
Let's face it: data loss is a nightmare. Make sure to back up your important files before proceeding. Whether it's using an external hard drive, cloud storage, or another form of backup, safeguarding your data should always be step one.
How to Create a Bootable Windows 10 USB Drive
To start the installation, you’ll need what's called a bootable USB drive. Here’s how you can create one:
- Download the Windows Media Creation Tool from the Microsoft website.
- Insert your USB drive (at least 8GB in size) into your computer.
- Run the Media Creation Tool and select "Create installation media for another PC."
- Follow the prompted instructions to complete the process.
Voila! You now have a bootable USB that will let you install Windows on your new SSD.
Physically Installing Your New SSD: Ready, Set, Go!
Before installing Windows, ensure that your SSD is correctly installed:
- Turn off your computer and unplug the power supply.
- Open up the side panel to access the drive bays.
- Install your SSD into an available slot.
- Reassemble your computer and power it back on.
It's as simple as that, and now you're ready for the next step.
Booting from USB: Access Boot Menu to Start Fresh Installation
After creating the bootable USB and installing the SSD, you need to boot from the USB:
- Insert the bootable USB into your computer.
- Restart your system and press the boot menu key, usually F12, ESC, or DEL (This varies by manufacturer).
- Select the USB drive as the boot device.
The computer will now boot from the USB drive, allowing you to start the Windows installation process.
Navigating the Windows Installation Process Without a Hitch
Once you've booted from USB, the installation wizard will guide you through:
- Select your language, time, and keyboard preferences.
- Click "Install Now."
- Enter your Windows product key if prompted.
- Agree to the license terms and proceed.
- Choose "Custom: Install Windows only (advanced)."
- Select your new SSD as the drive where Windows will be installed and click "Next."
The installation now kicks into gear, and your system will handle the rest. This might take a while, so grab a coffee!
Post-Installation Setup: Getting Everything Back Up and Running
After Windows is successfully installed, a few post-installation steps await:
- Configure Windows settings (username, password, privacy settings).
- Connect to your Wi-Fi or Ethernet.
- Install necessary drivers and updates.
With these essential tasks completed, your system will run more efficiently on your new SSD.
Restoring Your Files: Moving Data Smoothly Back to Your Computer
Now comes the task of restoring your data. Take your time to transfer back your important files from backups. Be it through cloud services or an external drive, ensure all your data is where it belongs.
What to Do If You Encounter Problems During Installation
Not everything goes smoothly every time. If you run into problems:
- Check online forums and support.
- Revisit BIOS settings to ensure proper boot configuration.
- Confirm the SSD is properly connected and visible in BIOS.
Remember, help is widely available online, so don’t hesitate to check resources if you're stuck.
Conclusion: Enjoy the Blazing Speed of Windows on an SSD
Congratulations! You've successfully reinstalled Windows on a new SSD. Get ready to enjoy faster boot times and a more responsive system. Your computer is now equipped to handle tasks with improved efficiency, making everything from gaming to multitasking a breeze.
Frequently Asked Questions (FAQ)
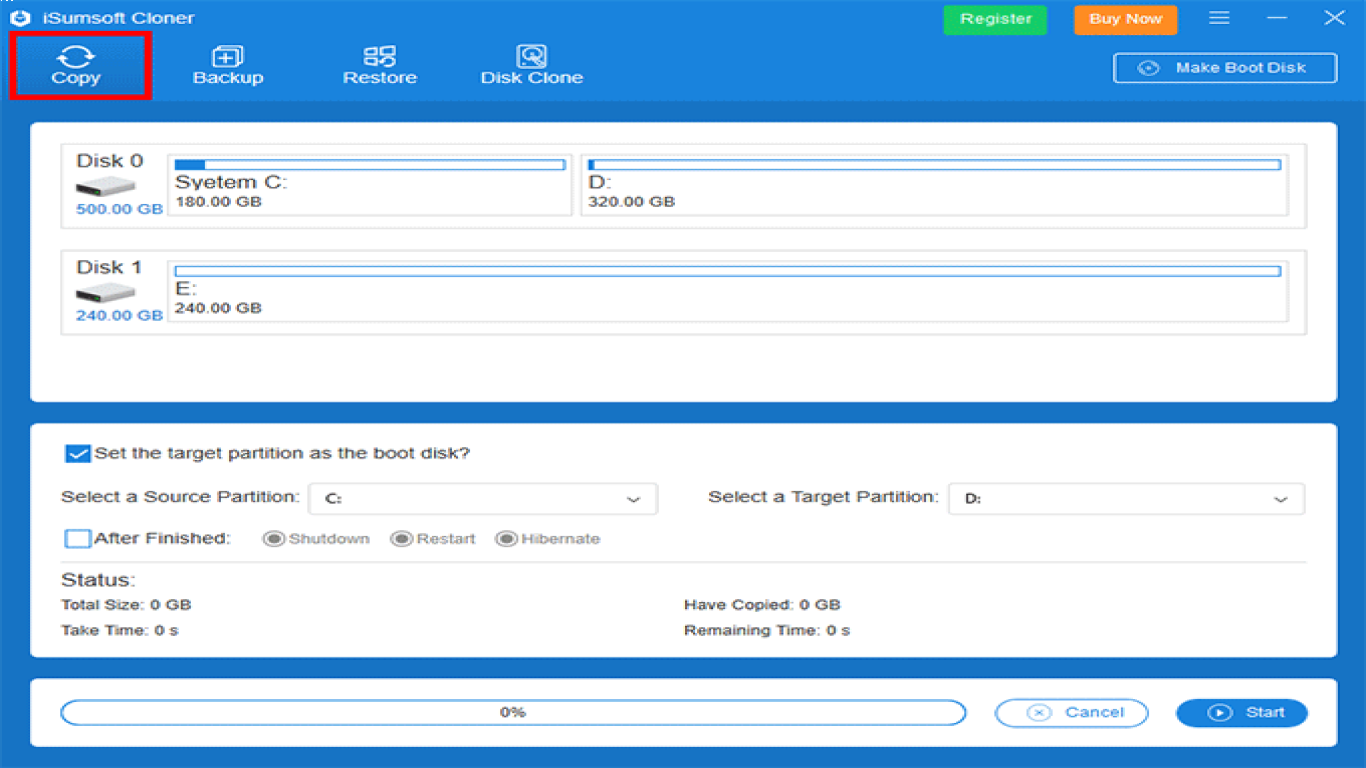
1. Can I clone my existing HDD to an SSD instead of a fresh installation? Yes, cloning is another option that requires specific software. However, starting fresh is often recommended for optimal performance.
2. Is it necessary to format the SSD before installing Windows? The Windows installation process allows you to format the SSD during setup, so pre-formatting is not essential.
3. What if my SSD isn't detected during installation? Ensure that your SSD is connected correctly. Check your BIOS settings to confirm the SSD is recognized.
4. Can I reinstall my old programs on the new installation? Yes, you'll need to reinstall all your applications. Make sure you have the installation media or access to download them again.
5. How can I ensure I have the right drivers after installation? You can allow Windows Update to automatically download drivers or visit the manufacturer’s website for specific driver updates.
#reinstallwindows #newssd #windowsinstallation #ssdupgrade #installwindows
