

Managing Users on Ubuntu: Everything You Need to Know
Managing users on Ubuntu can seem like a daunting task, but trust me, with a little guidance, you'll be on your way to becoming a pro in no time! In this article, we're going to explore everything you need to know about managing users on Ubuntu in a chill and relatable way. So, grab your favorite snack and let's dive right in!
What is User Management on Ubuntu and Why is it Important?
User management on Ubuntu is crucial because it lets you control who has access to your system and what they can do. It's like being the boss of a club, deciding who can get past the velvet ropes and what they can do once inside. Properly managing users helps keep your system secure and functioning smoothly.
Getting Started with User Management on Ubuntu
Before you can start managing users on Ubuntu, you need to make sure you have the right tools. The good news? Ubuntu has everything you need built right in! All you'll need is a terminal and some basic commands.
Creating a New User on Ubuntu: A Step-by-Step Guide
Creating a new user on Ubuntu is simpler than you might think. Just follow these steps:
- Open Terminal: Start by opening your terminal. You can do this by pressing
Ctrl + Alt + Ton your keyboard. - Use the adduser Command: Type the following command and press
Enter:sudo adduser new_username - Enter User Details: You'll be prompted to enter a password and other details for the new user. Fill them in as needed.
- Complete Setup: Follow any additional prompts to finish setting up the new user. Easy peasy!
Modifying User Permissions and Groups on Ubuntu
Once you've created a user, you might need to modify their permissions or groups. This is where you assert your authority as the ultimate system administrator!
- Adding a User to a Group: Use the following command to add a user to a specific group:
sudo usermod -aG groupname username - Changing User Permissions: Adjust user permissions by editing files in the
/etc/sudoersdirectory or using thechmodcommand for file permissions.
Deleting a User on Ubuntu: How to Do It Safely
Uh-oh, time to boot someone out of the club? No worries! Deleting a user on Ubuntu is straightforward.
- Open Terminal: Just like before, open your terminal.
- Use the deluser Command: Type the following command and press
Enter:sudo deluser username - Remove Home Directory: If you want to remove the user's home directory as well, add the
--remove-homeoption:sudo deluser --remove-home username
Keeping User Management Efficient and Secure
Managing users efficiently and securely is key to maintaining a healthy Ubuntu system. Here's how:
- Regularly Review User Permissions: Periodically check and adjust user permissions to ensure no unnecessary access.
- Use Strong Passwords: Encourage users to use strong, unique passwords to enhance security.
- Limit Admin Access: Only grant administrative privileges to users who absolutely need them.
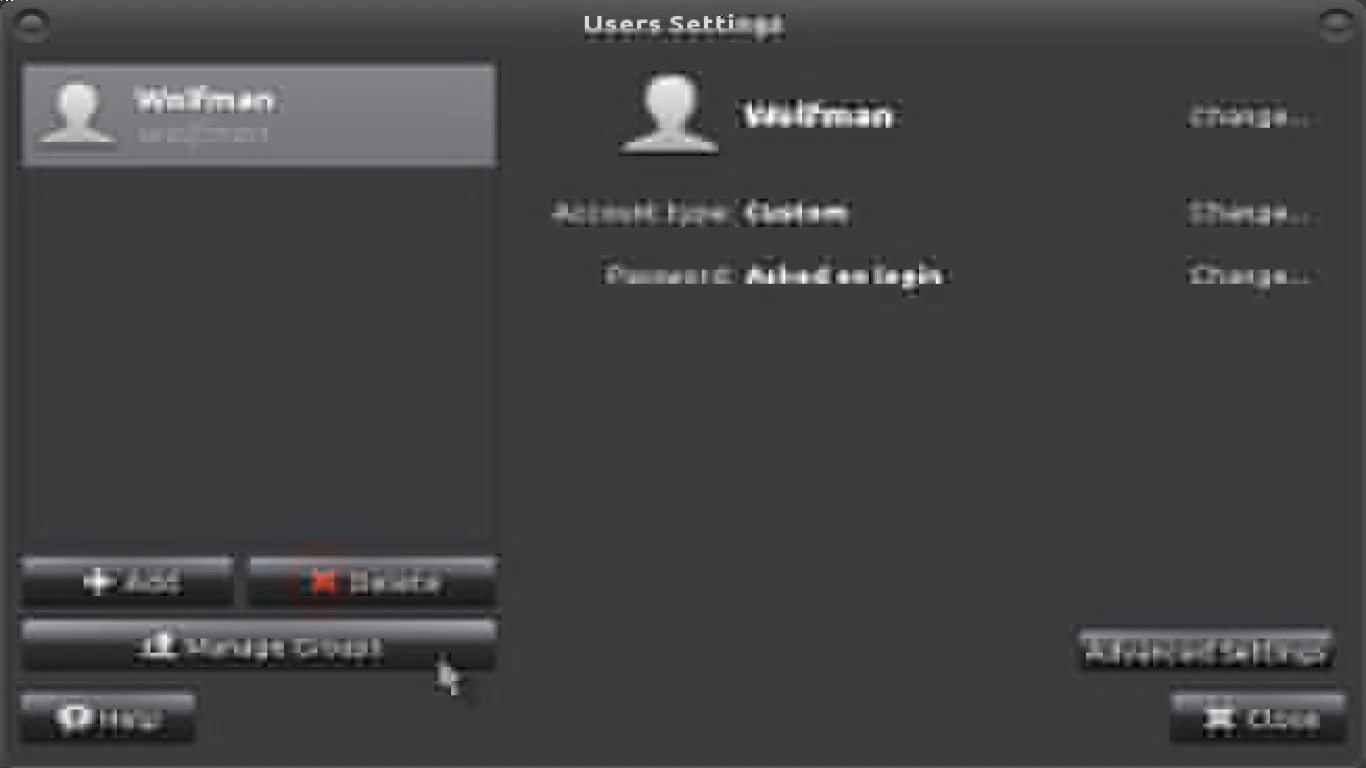
Using Graphical User Interfaces (GUIs) for User Management
If you're not a command-line enthusiast, fear not! Ubuntu offers graphical tools for user management as well.
- Open "Settings": Click on the "Settings" icon.
- Navigate to "Users": In the "Settings" menu, find and click "Users."
- Manage Users Graphically: Use the GUI to add or remove users, change passwords, and more.
Troubleshooting Common User Management Issues on Ubuntu
Even seasoned admins run into issues now and then. Here are some common problems and how to tackle them:
- Can't Create User: Double-check that you're using the correct command and have the necessary permissions.
- User Can't Access Files: Ensure the user has the proper permissions set for the files they need.
- Forgotten Passwords: Use the
passwdcommand to reset forgotten passwords for users.
Advanced User Management Techniques: For the Pros
Once you've mastered the basics, it's time to level up! Try these advanced techniques:
- Set up User Quotas: Restrict how much disk space a user can use with disk quotas.
- Automate User Management with Scripts: Use shell scripts to automate repetitive tasks and streamline user management.
Best Practices for Managing Users on Ubuntu
Follow these best practices to become a user management guru:
- Regularly Back Up User Data: Protect against data loss by backing up user data regularly.
- Stay Informed About Security Vulnerabilities: Keep up to date with the latest security news to protect your system.
- Document Changes: Keep a log of changes you make to user accounts for easy reference.
Conclusion: Mastering User Management on Ubuntu
And there you have it — the ultimate guide to managing users on Ubuntu! Whether you're creating new users, modifying permissions, or troubleshooting issues, remember: practice makes perfect. With a bit of time and effort, you'll be managing users like a pro and keeping your Ubuntu system running smoothly.
Frequently Asked Questions (FAQ) about Managing Users on Ubuntu
-
How do I change a user's password on Ubuntu? Simply use the
passwdcommand followed by the username:sudo passwd username -
Can I disable a user account without deleting it? Yes, you can lock a user account using the
usermodcommand:sudo usermod -L username -
How can I see a list of all users on Ubuntu? You can view a list of all users by checking the
/etc/passwdfile:cat /etc/passwd -
What's the difference between
adduseranduseradd?adduseris a more user-friendly script that usesuseraddcommand in the backend. Whereasuseraddis a low-level utility and requires more detailed input. -
How do I make a user an administrator? Add the user to the
sudogroup using:sudo usermod -aG sudo username
With this guide, you should be all set to conquer user management on Ubuntu. So, gear up and take your Linux adventures to the next level!