

Reinstall Windows for a Fresh Start: A Comprehensive Guide
Starting anew can sometimes be the best solution when your computer becomes slow, overloaded, or cluttered. Reinstalling Windows gives your PC a fresh start, eliminating all those pesky issues that have accumulated over time. Whether you're dealing with a sluggish system, frequent crashes, or just too much clutter, a fresh reinstallation can often be the antidote to revive your computer. Let's dive into everything you need to know about how to reinstall Windows for a fresh start.
Why Reinstall Windows for a Fresh Start?
Reinstalling Windows can seem intimidating, but it's a powerful tool to help you regain control of your PC. If you're facing persistent problems, here's why starting fresh might be your best bet:
- Improved Performance: Over time, files, applications, and registry entries can slow your system. Reinstalling clears this clutter.
- Eliminate Bugs and Glitches: Stubborn software issues and glitches can often only be resolved with a fresh install.
- Security: Remove any malware or threats lingering in your system by starting anew.
- Organize and Reset: It's a chance to reconfigure your system setup, only installing what you truly need.
Preparing for a Windows Reinstallation
Before you dive into the process, preparation is key to ensuring everything goes smoothly.
1. Back Up Your Data
Losing important files is the last thing you want. Follow these steps for a complete backup:
- Use an external hard drive or cloud storage to save documents, photos, and videos.
- Don't forget to back up application data, like browser bookmarks and email archives.
2. Gather Your Installation Media
You'll need a genuine copy of Windows for the reinstallation:
- USB or DVD: Create a bootable USB or find your original installation DVD.
- Product Key: Ensure you have access to your Windows product key for activation.
3. Prepare Drivers
Identify and download necessary drivers beforehand:
- Network and Graphics Drivers: Crucial to get your system running smoothly from the start.
- Manufacturer’s Website: Check for the latest versions directly from hardware manufacturer websites.
Step-by-Step Guide to Reinstall Windows
Step 1: Boot from Installation Media
To begin, insert your installation media and restart your computer:
- Enter the BIOS or UEFI settings (usually pressing F2, F12, DEL, or ESC).
- Configure the system to boot from USB or DVD.
Step 2: Start the Reinstallation Process
Once booted, you'll see the Windows setup screen:
- Language Settings: Select your language, time, and keyboard input preferences.
- Install Now: Click to begin the installation.
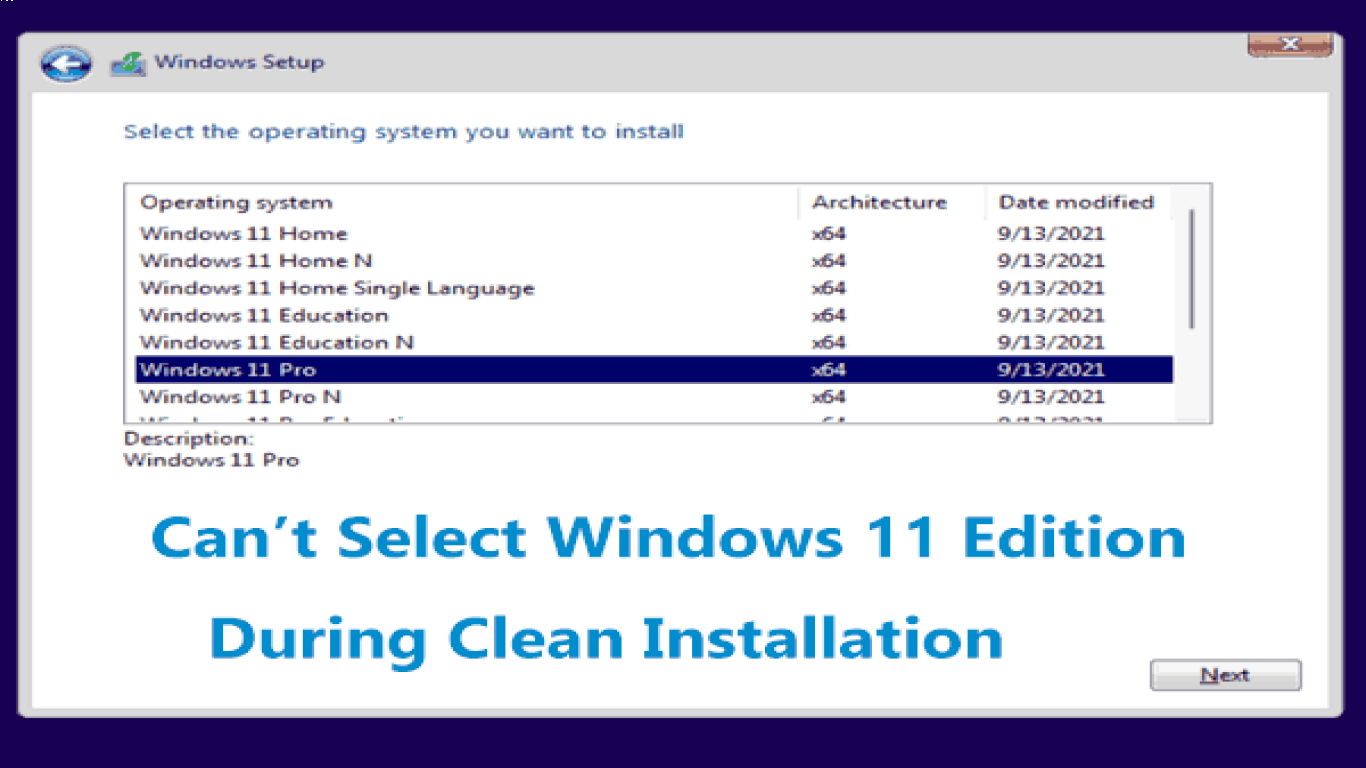
Step 3: Choose Installation Type
For a fresh start, you'll need to choose the correct installation option:
- Select "Custom: Install Windows only (advanced)" to perform a clean installation.
Step 4: Partition and Format
Decide how to organize your hard drive during installation:
- Delete Existing Partitions: Caution! This will erase existing data.
- Create New Partitions: Format and allocate spaces as needed for your system.
Step 5: Complete Installation
Windows will install and restart several times:
- Set Up Windows: Follow prompts to configure settings like region and network.
- Activate Windows: Enter your product key when prompted or login to your Microsoft account.
Post-Installation: Getting Back to Normal
After successfully reinstalling Windows, there's still work ahead to get everything back on track.
Step 6: Install Drivers and Updates
Ensure your system runs optimally by updating:
- Windows Updates: Install all available updates from Settings > Update & Security.
- Driver Installation: Use previously downloaded drivers to install essential devices.
Step 7: Restore Data and Install Applications
With a fresh Windows setup:
- Transfer Data: Return your important files and documents from your backup.
- Essential Software: Begin with necessary applications like browsers and antivirus software.
Step 8: Configure Settings
Customize your system to your liking:
- Personalize Desktop: Adjust background, themes, and shortcuts.
- Privacy Settings: Secure and optimize privacy options in Windows settings.
Conclusion: Enjoying Your Fresh Start
Reinstalling Windows for a fresh start might seem like a long process, but the benefits are well worth the effort. With a cleaner, faster, and more organized system, you'll find your productivity and enjoyment of using your computer significantly improved. Remember, like spring cleaning, this process can become a regular practice to maintain a healthy system and ensure you’re always working with a clean slate.
FAQs: Frequently Asked Questions About Reinstalling Windows
Q: Is it possible to reinstall Windows without losing data?
A: Yes, you can choose an upgrade install, but for a truly fresh start, a clean install is recommended. Always back up your data.
Q: How often should I reinstall Windows for optimal performance?
A: Generally, reinstalling Windows once every 1-2 years can help maintain performance, depending on usage and system health.
Q: Can I reinstall Windows without an installation disc?
A: Yes, you can use a bootable USB drive created with the Media Creation Tool from Microsoft.
Q: Do I need to reinstall my software after reinstalling Windows?
A: After a clean install, you'll need to reinstall all applications to get your system back up and running.
Q: How long does it take to reinstall Windows?
A: The process typically takes between 30-60 minutes, depending on system speed and the amount of data being installed.